How to Get Started with Tublian BizDev Agent (Step-by-Step Guide for Beginners)
The Tublian BizDev Agent is an AI-powered assistant built to help freelancers find and apply for jobs faster.
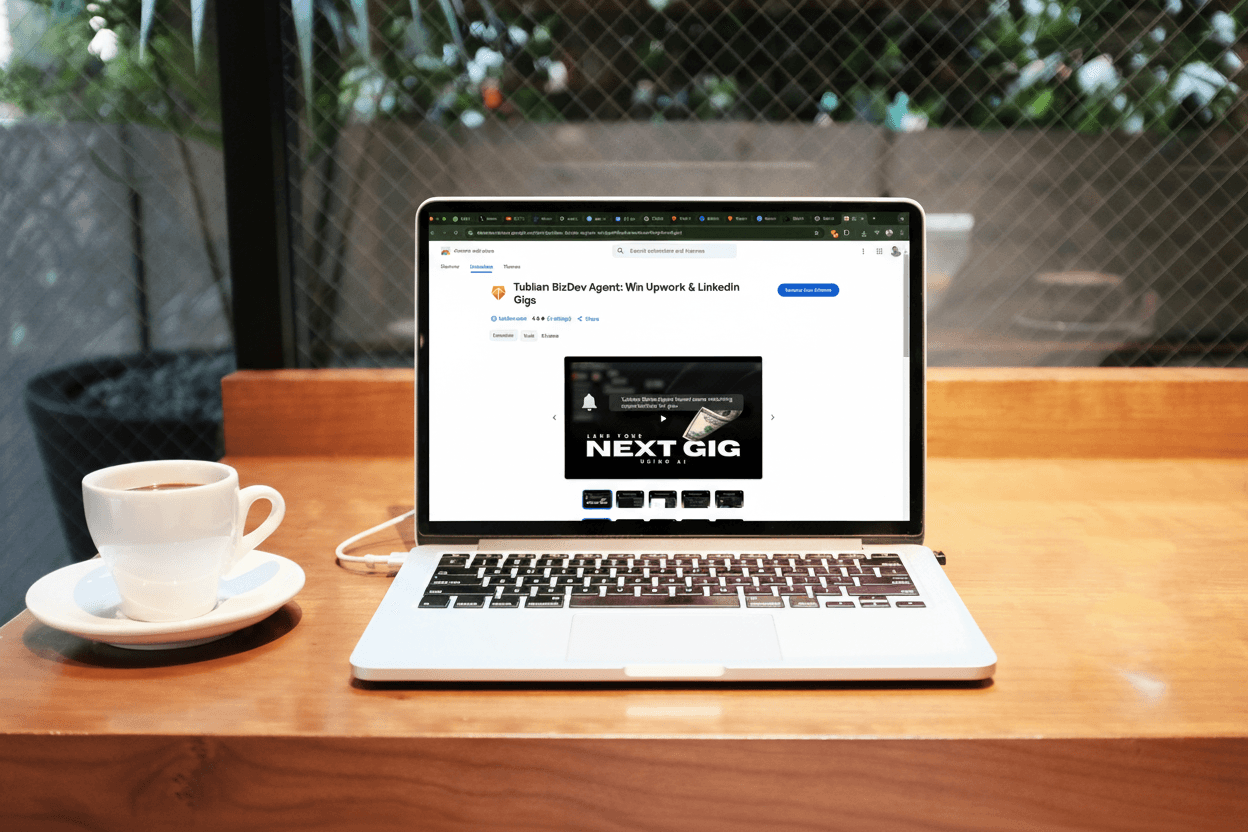
If you’re a freelancer or independent contractor, you know how time-consuming it can be to find quality gigs, send proposals, and stay on top of notifications. That’s where the Tublian BizDev Agent comes in.
This guide will walk you step by step through installing, setting up, and using the BizDev Agent — even if you’ve never used a Chrome extension before.
👉 Prefer a video tutorial? Watch it here: YouTube Guide
What is the BizDev Agent?
The Tublian BizDev Agent is an AI-powered assistant built to help freelancers find and apply for jobs faster. Think of it as your personal business development partner that lives right inside your browser.
It works by scanning platforms like LinkedIn and Upwork for freelance gigs that match your skills, notifying you instantly when a new opportunity comes up, helping you write proposals in your own style and tone, and reviewing your freelance profiles to make sure they look professional and competitive.
What Can You Do With BizDev Agent?
Here’s what you can achieve with BizDev Agent once it’s running:
✅ Never miss a gig – real-time notifications whenever a job matches your skillset.
✅ Save time – instead of scrolling endlessly, the agent alerts you.
✅ Write proposals automatically – trained on your writing style.
✅ Generate work plans – so you can hit the ground running when hired.
✅ Optimize your profiles – improve how you look on LinkedIn or Upwork.
Who Is It For?
The BizDev Agent is perfect for:
Freelancers who want to land more jobs with less stress.
Developers, writers, designers, and marketers on Upwork or LinkedIn.
Anyone who wants an AI assistant to help with proposals, notifications, and job hunting.
If you spend hours chasing gigs, this tool is for you.
Installation Process (Step-by-Step)
Step 1: Install from Chrome Web Store
Visit the Tublian BizDev Agent Chrome Extension page.
Click Add to Chrome → then confirm by clicking Add Extension.
👉 This installs the agent into your browser.

Step 2: Pin the Extension
Once installed, pin it to your Chrome toolbar:
Click the puzzle icon (top right corner of Chrome).
Find BizDev Agent and click the pin icon.
🔔 Pinning is important because it keeps the extension visible and ensures the notification feature works correctly.

How to Configure BizDev Agent.
Now that the agent is installed, let’s configure it:
Step 1: Log in to Tublian
Create or log in to your Tublian account.
This account syncs your preferences and data.
Step 2: Open Agent Settings & Personalize Your Agent
On the extension sidebar, click the 3 dots (top-right).
Select Customize Agent.

You’ll be redirected to the personalization page on your Tublian dashboard.
Click Customize Agent (top-right) to open a pop-up window.

You can customize the following: Keywords – e.g., “React developer,” “content writer,” “UI design.”; Preferred Job Type – hourly, fixed, remote, part-time, etc; Hourly Rate – your target pay; Email Preferences – how often you want reminders sent to your email.
Click next when done to teach the Agent your voice.
Step 3: Teach the Agent How to Write for you.
To make proposals sound like you, the agent needs to learn your style:
Copy text from a previous proposal, old article, or cover letter.
Paste it into the training box.
The AI will use this to mimic your tone when writing proposals.
👉 This is a powerful step. Instead of generic AI text, your proposals sound authentic.

Don’t forget to hit Save before moving forward.
Step 4: Sync & Connect Your Platforms
Go back to your agent sidebar and click on the 3 dots on the top right corner and select “SYNC Agent“
Log in to your Upwork account.
Log in to your LinkedIn account.
This allows the agent to track gigs and send you notifications.
Enable Agent Notifications
You don’t want to miss job alerts. Here’s how to make sure notifications work:
Step 1: System Settings
On Windows or Mac, open your Settings → search for Notifications.
Turn ON notifications for both your system and Chrome.
You can use this guide to learn how to turn on the notification on both windows and mac.
Step 2: Test Notifications
To be 100% sure:
Open the BizDev Agent sidebar.

Click Test Notification.
If a pop-up shows in your notification bar, you’re good!
The button will also turn green when notifications are active.

Using the Agent
Once everything is set up, the first thing you will notice is the agent opens multiple tabs of linkedin & upwork on your browser, it is only trying to study and understand your profile, allow it to sync and when it is done, you can now do the following:
🔔 Real-time gig alerts directly on your desktop.
✍️ Write and submit proposals in your own style.
📋 Generate work plans to show clients you’re serious.
🔍 Review your Upwork & LinkedIn profiles for improvements.Need Help?
🎉 Congratulations — you’ve just set up your BizDev Agent!
If you run into any issues setting up your agent:
Send an email to ngwube@tublian.com
Or join our Discord community to get support and tips.